Walkthrough part 1
Chamber of Echoes
This mission begins at the entrance of the Chamber of Echoes. Climb up as far as you can and collect all the Red Orbs. Move to Dante's right and up the stairs until you see where the floor is broken. Jump through and wall-jump to reach the side of the ramp with the blue door; enter it.
Entranceway
Some Hell Prides are in this hallway but defeating them is optional. Go through the door at the end to reach the Living Statue Room.
Living Statue Room
There will be a short cutscene sequence with the appearance of several Enigma demons. You can stay in front of the doorway (don't let the door grab you) and simply fire Ebony & Ivory at them until they die if you want to be safe. If you prefer to take things up close, run toward them and up the stairs, then perform Helm Breakers to knock them down. You can try your new Devil Arm, Cerberus on these demons. Several others will appear around the room as you kill the first few; take them out, then head through the door at the top of the room (you can't obtain the item inside the cage just yet).
Silence Sanctuary
In this room, the damage wheel is used to activate the elevator, but with some fake Damned Chessmen sitting on top of the platform. There is also a Red Orb crystal. Destroy them for Red Orbs, then activate the elevator and get on to be transported to the Incandescent Space.
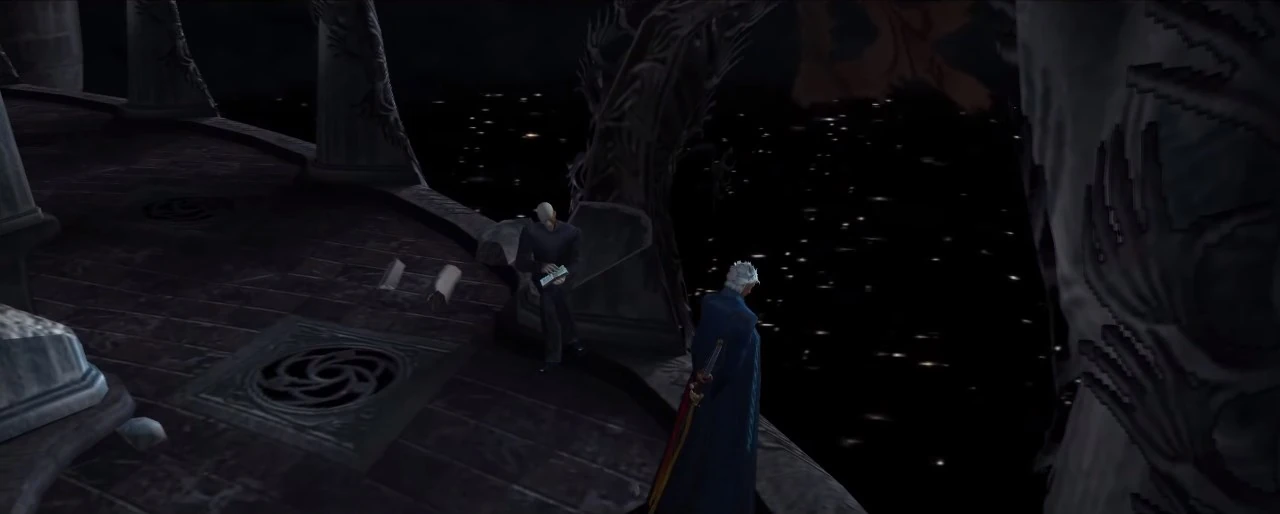
Incandescent Space
Torn flag in the upper right corner resembles rotated number "4", depicting mission's number.
Here, the demons Hell Gluttony are introduced. Gluttonies telegraph their attack by taking a step back and drawing a breath before they fire a blast of sand. Defeat these along with some Hell Sloth, then jump onto the pipes that run over the bridge; then up again into the alcove for a Blue Orb Fragment. Go through the green door to return to an upper floor in the Chamber of Echoes.
Chamber of Echoes
Go further up the ramps and through the yellow door to reach the Endless Infernum.
Endless Infernum
To obtain the hidden Red Orb cache here, double jump when you are in front of the sign a few times and you will obtain them. That door and the one next to it will seal upon entry and the only path is to cross the bridge over the chasm. The bridge will collapse after a few moments, and you'll drop down into the Chamber of Sins.
Chamber of Sins
Depending on the difficulty mode, a variety of demons spawn in this small space: Easier difficulties have Hell Lusts, Sloths, and Wraths; tougher ones will have Abysses and Soul Eaters. Defeat them all to open a portal; taking it returns you to the Endless Infernum.
Endless Infernum
When you return, the seals on both doors will be broken. The large door leads to the Giantwalker Chamber.
Giantwalker Chamber
The door behind you seals, and you're introduced to the next, pseudo mini-boss.
Boss: Gigapede
In fact, there's nothing mini about this boss.
Attacks
Gigapede has projectile several attacks, most of which can't hurt you if you are standing on an elevated platform. It posesses no physical attacks.
- Lightning pulse: Gigapede causes a wave of electricity to run along the floor. Being off the ground avoids this completely.
- Lightning bolts: Several vertical beams of lightning form below Gigapede and try to home in on your position. Staying off the ground floor renders this attack harmless.
- Purple orbs: Gigapede fires multiple purple spheres of electrical energy at Dante, launched in pairs from each segment of its body. These orbs can travel through Gigapede, they can be fired off-screen, and can hit Dante even when he is standing on the top level. Move quickly to avoid them, or attack them to send them back at Gigapede.
- Ball lightning: On higher difficulties, a severely injured Gigapede (below 50% of health) may launch a big lightning ball attack as it emerges from a tunnel. This super attack causes heavy damage, but is rare and will not reach you if you are away from the lowest floor.
(Note: despite its intimidating looks, Gigapede's mouth is actually harmless, and you can safely approach it from the front, even jump right through the maw onto Gigapede's head.)
Strategy
First playthrough
The holes scattered throughout its arena are connected, such that Gigapede's entrance will always determine the exit. Also a bright light will emit from the hole it will come through. Memorizing these connections is extremely useful for predicting Gigapede's next move and positioning yourself for minimum battle time, since it cannot be attacked while inside the walls. Attacking the head deals the most damage, but its body segments can be knocked off with enough forced coersion, making its attacks easier to dodge. Occasionally, Gigapede will also twist around, attempting to knock you down to the ground. Simply jump or Air Hike to avoid this. Be careful, because sometimes Gigapede couples this move with an electrical attack, giving you two things to dodge.
The Gigapede is vulnerable to Cerberus' ice attacks, but has a particular weak spot on its head. It flies through the map on several set routes; you can hop down onto it as it emerges from the holes in the walls and attack. Standing on its body for a few moments causes it to flip over in an attempt to knock you off, but standing on and attacking its head will cause it to shriek and fly around more quickly. If you choose to assault Gigapede's back, Trickster will help you navigate the arena a lot easier, especially while escaping the floor-based attacks.
Only the orb attack can be reflected with melee attacks to inflict massive amounts of damage to the Gigapede - this is actually the fastest way to defeat this boss. The Swordmaster style is ideal for this: alternating between Flicker and the first two hits of the Cerberus Combos works well, as well as Prop Shredder with Rebellion.
Second playthrough
With Level 3 Royalguard Style and Spiral, this boss becomes an instant cakewalk. The floor of the map is roughly an L shape (with two of the wall holes on either end); stand on the narrow platform at the corner of the L. As the Gigapede emerges from either hole, fire the Spiral repeatedly at it (you can shorten the long cooldown animation by pressing Guard or by firing a different gun). The bullets will pierce each segment of the Gigapede, thereby dealing fantastic damage for a gun, as well as keeping the Style Rank high. As long as you're on the platform, the Gigapede's lightning attacks won't reach you, and when it uses the purple orb attack, simply execute Ultimate to absorb all of the hits. Just be careful not to let the recoil from the Spiral knock you off the platform.
Gigapede is also vulnerable to Agni & Rudra, so combine it with Cerberus for enhanced damage potential, and a well-timed Million Slash against the purple lightning balls will cause tremendous damage to Gigapede. Other effective options for the deflection strategy include: Ice Age and Jam Session. Lastly, Quicksilver or Doppelganger Styles trivialize this fight even further, if you can utilize them at the right time when Gigapede launches the purple lightning barrage.
Walkthrough part 2
Incandescent Space
After you've defeated the Gigapede, collect the Red Orbs it drops and run to the opposite end of the map. Go through the small door and take the Astronomical Board from the slot in the wall to complete this mission.