Walkthrough part 1
Sun & Moon Chamber
The door behind you needs two key items to open: The Golden Sun and Onyx Moonshard. Go through either the blue door for the Golden Sun, or the red door for the Onyx Moonshard. The order doesn't matter.
Entranceway (Blue Door)
Hell Sloths and an Enigma are in here. Kill them if you need Red Orbs and move on to the door at the top of the stairs. The enemies can be skipped if you prefer.
Living Statue Room
You'll be locked in this room with Blood-goyles and Enigmas. Kill them to proceed.
Waking Sun Chamber
Turn on the damage wheel in the room to make a large metal ball fall from the ceiling. Break it open to reveal a secret area. Take the Golden Sun item from its spot on the wall and examine the golden door on right to initiate a Secret Mission "Guiding Light". After getting the Blue Orb Fragment as your reward, retrace your steps back to the Sun & Moon Chamber.
Sun & Moon Chamber
This time take the red door on the other side of the lift.
Entranceway (Red Door)
Hell Envies and Enigmas will spawn here. Kill them if you need orbs. You're supposed to go down the stairs this time, but if you go up, you'll be in the Cursed Skull Chamber, and can pick up a Devil Star. You'll have to fight a few waves of enemies here: Two Hell Greeds will spawn and the doors will seal off.
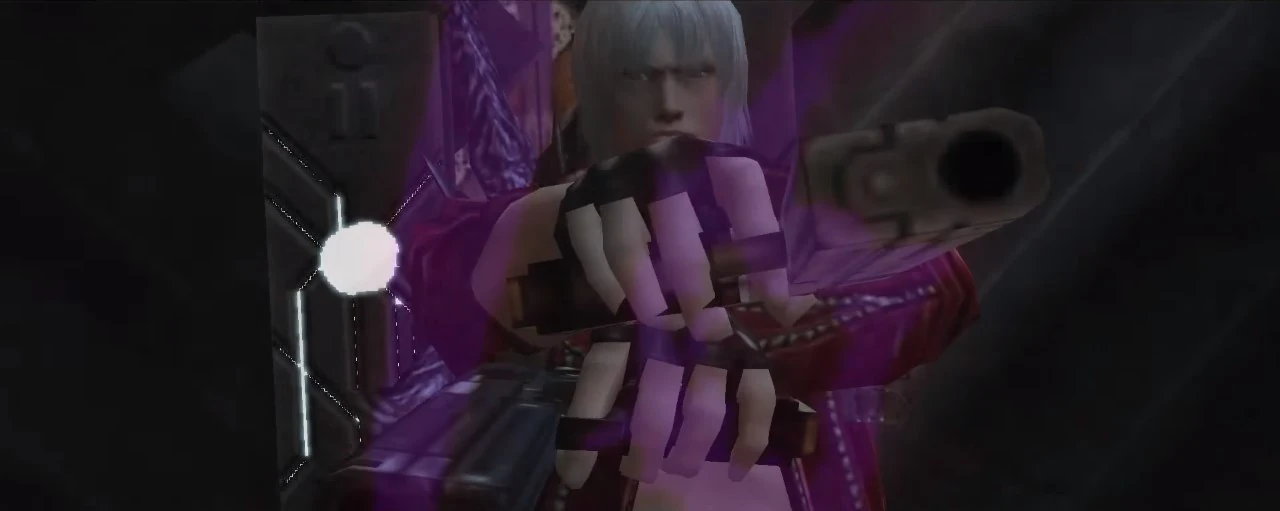
Purple smoke, made by gunfire resemble "16", depicting mission's number.
After getting the Devil Star, head down the stairs and enter the crack in the wall to the Chamber of Sins.
Chamber of Sins
Turn on both the damage wheels there, and two balls will drop down. You have to clash the balls with each other. To do it, first hit the left ball towards right and vice versa. Beowulf's Killer Bee is highly recommended. After they're broken a small door will be unlocked in the area. Take the Onyx Moonshard from there, battle the Fallens that spawn, and make your way back to the Sun & Moon Chamber.
Sun & Moon Chamber
Use the Golden Sun and Onyx Moonshard on the door with the two indentations.
Ice Guardian's Chamber
Enter the Ice Guardian's Chamber after the door's unlocked. Kill the demons in the chamber if you want or jump up the hole in the roof (above the rocks bearing Enigmas).
Surge of Fortunas
Take the stairs on the left of the Surge of Fortunas and enter the big door to the Endless Infernum.
Endless Infernum
The staircase from the Mute Goddess's Chamber will be here, run down it, but be careful not to fall down to the Chamber of Sins. Take the door to the Giantwalker Chamber at the other side of the broken staircase.
Giantwalker Chamber
Kill the demons there if you want or head towards the door at the other end to the Incandescent Space.
Incandescent Space
There's a Vital Star S on the floor. The Astral Chamber and Incandescent Space parts won't be separated by the wall in Mission 4 and Mission 5 anymore, so jump down to the main chamber. Use the Divinity Statue in the next room if you need to or enter the other door. Prepare to fight the only human in the game in Divine Library.
Divine Library
Walk forward or move towards the other door beside you to trigger a cutscene for Dante. After the event, a boss fight with Lady will begin.
Boss: Lady
As the only human in the game, Lady doesn't rely much on her power. Rather, her speed, agility, and weapon are her strengths.
Attacks
- Rocket - She signifies this by saying "Okay...". You need to keep moving/rolling/jumping whatever you want but not in the direction of the missiles. The rocket can be shot down with a Spiral shot.
- Handgun Fire - These bullets only hits you when you are moving directly towards her. You can deflect them with Ebony & Ivory.
- Grenades - Usually used when standing on top of an archway. Just run away from the grenades she throws on the ground.
- Hysteric - She signifies this attack with either "Eat this!" or "Die!". Attack her when she's doing this with some fast move like Stinger to get both advantages of stopping and damaging her at the same time.
- Swing Away - Lady fires her grappling hook and flies up into the air. She will use this to get away and land elsewhere in the battlefield. She may also cover her retreat with a volley from her pistols, so watch out.
Strategy
You have to be extra quick in this fight. She flies here and there using the grappling attachment on her rocket launcher. Try to get near her and do some melee combos. Avoid using Stinger! Lady will dodge it, and she will benefit from invincibility frames, so even using Quicksilver Style's Time Lag won't help you. After a melee combo, she'll be thrown away, but she'll not go silently. She shoots bullets at you even then, so jump to evade or shoot them with Ebony & Ivory. The best time to look for her is when you hear the tinkling of empty shells being ejected from her guns: She's reloading, and can't fire back.
On Harder modes, this fight gets somewhat easier, because Lady will now be more aggressive (i.d. she will spend less time running). When she starts throwing grenades, get close to her with Killer Bee and jump away (you will have enough time for a single attack). When she yells "Die!", go near her and dance on top of her face with Beowulf for a lot of damage, but this time avoid using Killer Bee, else it will knock her down and she'll shoot you.
Walkthrough part 2
High-Fly Zone
Watch the cutscene, and get Kalina Ann as Dante's reward. After you're out of the library, jump upon the red jump pads and keep flying until you reach the brown door at the top. Right before you go through the brown door, go over to the left of the door and jump onto the furthest little ledge. Jump again, make sure not to fall, and you'll receive a hidden Red Orb cache. Examine the door to end the mission.