m (Applying infobox theming) |
m (→top) |
||
| Line 2: | Line 2: | ||
{{InfoMission |
{{InfoMission |
||
|name = Inner-demons |
|name = Inner-demons |
||
| + | |game = Devil May Cry 3 |
||
|num = 17 |
|num = 17 |
||
|image = [[File:DMC3_Mission_17.png|250px]] |
|image = [[File:DMC3_Mission_17.png|250px]] |
||
Revision as of 15:56, 23 May 2019
Walkthrough part 1
Dark Corridor
Kick Jump the wall on the door's side when you start the mission to find a Vital Star S in a secret area in the wall (the place which had a secret mission before). After that, run down the corridor, taking the Red Orbs on the ledges above with you. Enter the hole beside the big door to face the Trial of Warrior again.
Trial of Warrior
This fight is optional, but if you succeed, you'll gain a Gold/Yellow Orb in reward for beating those DT'ed enemies. Both of the damage wheels must be activated before the enemies will stagger. Keep in mind that the wheels will stay activated for a shorter time compared to Mission 6. After the Hell Sloths and Hell Gluttonies are defeated, a Hell Vanguard will appear. This one is extra difficult, as it performs three teleporting attacks whenever it makes the gong sound. When you're finished, exit through the crack in the wall, and then enter the big door.
God-cube Chamber
Smash the Red Orb Crystal in the room as well as an SSS-rank Combat Adjudicator using Beowulf for Dante or Force Edge for Vergil. Use the cubes to get to the door a level above the one which you came from.
Firestorm Chamber
Another difficult fight: Hell Vanguard and Enigmas. Kill Enigmas first. Exit to the other side.
Azure Garden
Use Divinity Statue if you need. Make sure to break all the barrels and weapons for orbs. Take stairs a little forward of the statue and take the Blue Orb Fragment in the big room where the elevator is. The elevator won't work, so retrace your steps back to the God-cube Chamber.
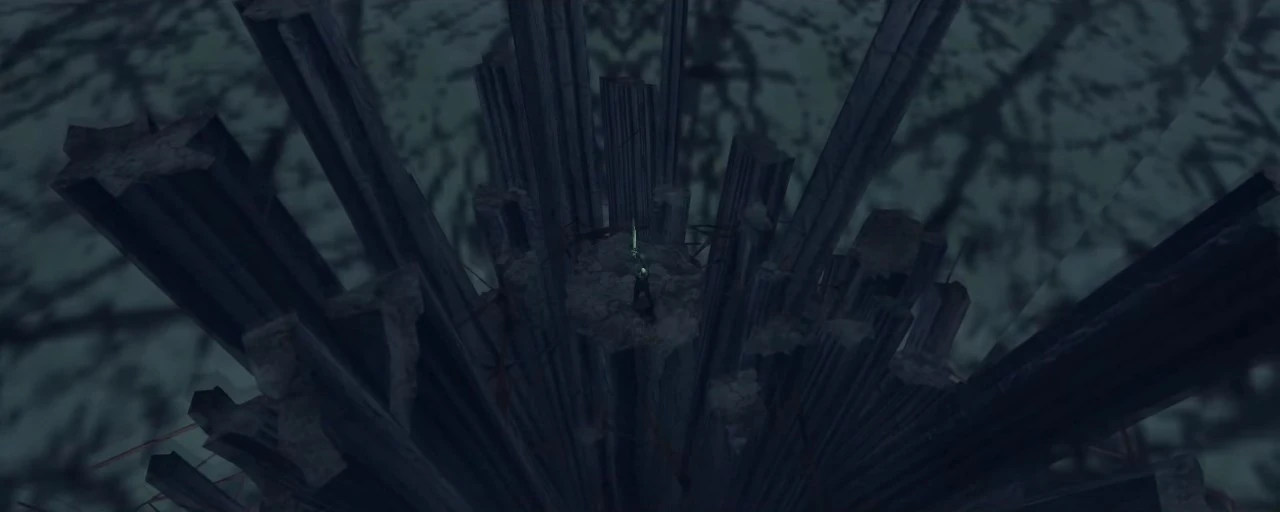
Two pillars resemble "17", depicting mission's number.
God-cube Chamber
Make your way to the highest door using the cubes but beware that you'll have to start over again from the ground if you fall. Enter the door.
Tri-sealed Antichamber
Only a single staircase remains intact. Take it to continue. In the Special Edition, there's also a lightbeam in the room to teleport you to a fight with Jester.
Boss: Jester
For a list of attacks and ways to defeat him refer to Mission 12.
Walkthrough part 2
Tri-Sealed Antichamber
Take the intact stairs which lead to the Trial of Wisdom room.
Trial of Wisdom
Dullahans and some Blood-goyles have conjured up here this time. Defeat them and enter any door, no riddles this time.
Trial of Skill
Face the Trial of Skill again but this time it's a little difficult than before - the spears now travel faster. Anyhow the basic technique is the same as the last one. Enter the hole in the wall on the other side of the hall to a newly-revealed terrace. Jump upon the Jump Pad there to charge upwards to the next level. Enter the broken area in front of you.
Pitch-Black Void
Take left and collect the Red Orbs on the ledges above you. You can play a Secret Mission "On Pins and Needles" by examining the glowing statue on the middle beam. After getting the Blue Orb Fragment from the secret mission, drop down and enter the door at end of the stairs.
Skull Spire
Defeat the new enemies - called Abyss - here. They are made of a hot blood, so you can use Cerberus to defeat them faster. They behave something like a Hell Envy crossed with a Hell Vanguard, so don't take them lightly. Enter the door at the other end of the corridor.
Moonlight Mile
As before, nothing will attack you here, so use the Divinity Statue if you need to prepare for a boss fight. When you're ready, continue through the archway.
Dark-pact Chamber
Climb, until you will encounter a new, dark portal blocking your way. This is the path to the last Gatekeeper - you have no choice but to indulge him.
Apparition Incarnate
Here begins the fight with Doppelganger.
Boss: Doppelganger the Deathvoid
The "poser" may look intimidating, but he is quite easy once you figure out the trick to defeat him.
Attacks
- Zodiac Umbra - The Doppelganger will fire a ball of darkness toward a lit reflector and deactivate it. This move is similiar to the Zodiac move of Dante.
- Volcano Umbra - The Doppelganger will plunge his arm into the ground and a geyser of darkness will rise up from under Dante. This move is similar to the Volcano move of Dante, however, with a larger radius, and it could appear anywhere, functioning as ranged version of the Volcano attack.
- Super Volcano Umbra - When he is staggered by all the lights shining on him, Doppelganger will recover by jumping in the air and coming down with an aerial Volcano Umbra, shutting down all the lights at once. However, this attack is harmless to you, unless you stand close to the center of the arena when it happens, so don't.
- Dark Rebellion Combo I - The Doppelganger will slash at Dante twice with his sword, using the same motions as Dante's original Rebellion Combo I. Dodge or roll away. Doppleganger will perform all three strikes of the combo when low on health.
- Dark Beast Uppercut - Similar to High Time, Doppelganger will rush in and attempt to knock Dante into the air. Dodge or roll away. This move is similiar to Beast Uppercut move of Dante.
- Dark Stinger - The Doppelganger will perform a thrust attack, much like Dante or Vergil's Stinger move. Jump or dodge to avoid it. He tends to execute it at close range, so stay away in order to not provoke him. It is noted that jumping is safer to avoid this.
- Shutter Silencer - Doppelganger will close all shutters, if the shutters are left open too long as you try to open all of them. Keep activating them to prolong your "time limit".
Strategy
Use Beowulf against Doppelganger since he is weak to light-based attacks. Cerberus is also recommended. Guns are practically useless in this fight, and as such Gunslinger is also not advised. Use Trickster or Swordmaster instead.
Doppelganger is invulnerable in the dark, maintaining an intangible form. But he hardly takes advantage of this fact: most of the time, he will do a single attack, then retreat to the center of the arena and repeat. Nevertheless, you will have to dispel Doppelganger's protection first in order to make him solid and susceptible to damage. To defeat Doppelganger, you have to shine light on him. The plates on the edge of the area emit light when they are hit certain times. On Normal mode, they take 3 to 4 hits to emit light. First check how many hits are required to illuminate a plate. Then stand by one, hit it one less than the required hits as to prepare it for brightening up the shadow with just one hit. Cerberus is especially useful for this task, thanks to its fast attacks. Wait for a moment, and just when Doppelganger gets in the range after zipping towards you, shower him with the light from the plate slashing the last hit. He'll be vulnerable to your attacks for a brief period of time. Do it again and again till he is down. Of course you can also illuminate all the platforms simultaneously by continuously running around and hitting them, but this strategy can be little difficult as Doppelganger tries to extinguish the lights you have brightened during the fight. When you are standing at the edges, he'll zip towards you and fist the ground to produce a vertical slash. This is your time to brighten up the poser and beat him. He'll shoot black balls (Zodiac Umbra) at already illuminated lights to extinguish them. Keep him busy so he can't do this. If he does, you can deflect the balls back at him, but he'll also do the same and the balls will travel faster. The higher the difficulty, the more he deflects. The one who can't handle the balls' speed will take damage from them. However, if you do not hit the ball in the first place it won't damage you, but you will have one light less instead. He will also conjure a black void at the place you are standing (Volcano Umbra). Once all the lights are lit, Doppelganger will be paralyzed for a handy period of time, and will take extra damage - now you can retaliate! Use Real Impact now if you have it.
You may try other Styles: Quicksilver will prolong the stun openings and Royal Guard Blocks are easy to time since Doppelganger uses copies of your own Rebellion and Beowulf attacks (you may Release Zodiac Umbra back at the boss).
Once you've taken him down, you unlock the Doppelganger Style. Use the light portal to leave the arena. Approach the top of the tower, which is also the end of this mission.